The long awaited tutorial (that I promised a long while back) is finally underway!
Yes, the time is near. It's almost 4th of July and the weekend of Anime Midwest convention! With no scheduled work in the following days, I'm seizing this opportunity to paint my nails and finally finish this tutorial. Woohoo!
~*~*~*~*~*~
Sally Hansen's Fuzzy Coat Tutorial
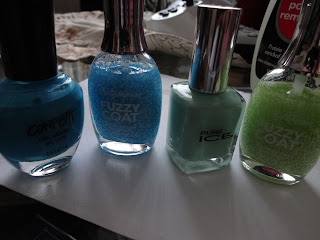
Tools
Steps
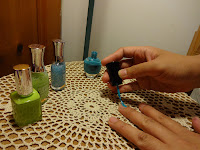
- Apply a solid color coat to the nail and then let dry.
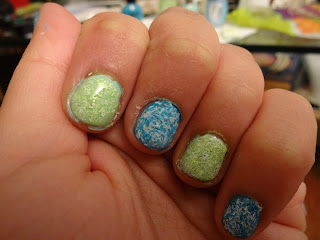
- I chose a blue and a greenish hue to go with the Wool Knot Fuzzy Coat and the Fuzzy Fantasy respectively.
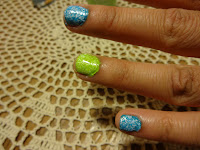
- Carefully dab the nail with the fuzzy coat polish and spread it. Apply more fuzzy coat as needed to cover the whole nail. Wait for the polish to dry. (This will take longer than the first coat).
- It took me several tries to fully understand how to manipulate the nail polish on the nail, so don't be discouraged if it isn't turning out neat. If you feel confident, you can try pushing the fuzzy coat around with your finger tip while it is still drying on your nail.
- Apply a clear top coat to the dried nail polish if you want the nail polish to last longer.
- Show off your fuzzy coat nails :)
For my next project, I will attempt creating a video tutorial of how to apply the fuzzy coat. Stand by and wish my luck!



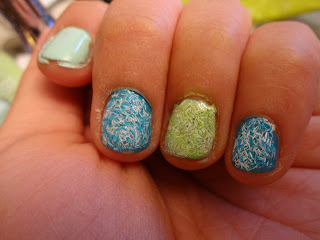
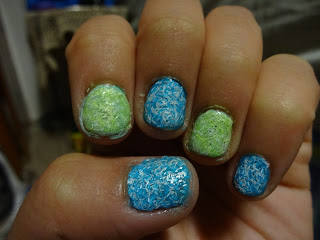
Still find it weird....haha
ReplyDelete